Preparing a Wall for Tiling with Ascolite: Tools and Steps for a Perfect Finish
December 21, 2024
Tiles transform spaces in a timeless, effortless, practical, and beautiful way. The key to successful wall tiling lies in assessing and preparing the surface supporting the tiles. Any shortcuts in surface preparation can compromise your tiling job and create problems later on.
Tackling a tile installation without adequately preparing the wall is a recipe for falling tiles. So, how do you prepare a wall for tiling? The products you use will vary depending on the wall surface and the methods. Use this handy reference for your wall-tiling preparations.
HOW TO PREPARE A WALL FOR TILING?
Wall tiling steps will vary depending on the surface you’re working with, the type of tiles you’re using, and where you’ll be tiling. Regardless of these variables, here are the initial steps for how to prepare a wall for tiling:
- Remove any nails, screws, photo hooks, and other fittings.
- Remove loose plaster.
- Remove any old wallpaper.
- Fill in any cracks or holes in the wall.
- Check the wall to see if it’s level.
- Sand the surface down if necessary.
- Vacuum up all the dust and wipe down the walls.
Once you’ve completed these basic steps, you can move on to tiling. You’ll need to take into account specific surface and tile instructions.
STANDARD WALL TILING PREPARATION
You can apply wall tiles to many different surfaces, as long as they are level and correctly prepared. Taking shortcuts in the preparation phase will cause tiles to break or lift from the wall.
Textured or Painted Drywall
Remove any loose paint, repair holes and cracks, and sand uneven areas. Vacuum clean the wall to remove all traces of dust or heavy particles. Use ammonia or a TSP (trisodium phosphate) based cleaner to remove all dust, oil, and grease residue. Once the wall is completely dry, the tile installation can begin.
Wood Surfaces
Wooden surfaces need priming. Start by sanding with a medium-grit sandpaper to create a uniform, rough surface for tile adhesive. Vacuum the area and wipe it down with a damp sponge. Ensure the surface is thoroughly dry before applying adhesive.
Plywood
Tiling directly on plywood isn’t recommended due to its tendency to swell and shrink with temperature changes, which can lead to cracked tiles and grout. Instead, install a concrete board over the plywood as a suitable tile backing.
Fresh Plaster
Fresh plaster takes up to 30 days to set and dry. Once it’s dry, you don’t need to tape the joints. After applying the last skim coat, use medium sandpaper to roughen the texture to improve adhesive bonding.
Tiling on Tiles
If tiling over existing tiles, clean them thoroughly and replace any broken ones. Sand the surface of the tiles to make them rough to the touch, then apply a primer. Spread thin-set mortar over the primed surface, wait 24 hours, and then begin installing the new tiles.
Tiling on Old Plaster
Assess the condition of the plaster. If it’s disintegrating, replace it with plasterboard. For intact plaster, use an acrylic primer and a cement-based adhesive. The primer acts as a seal.
Tiling on Wallpaper
Never tile on wallpaper. Its smooth finish doesn’t support proper adhesion, and it can’t bear the weight of the tiles. Remove the wallpaper, sand the surface, and ensure it’s dry before tiling.
HOW TO PREPARE A WALL FOR TILING: TOOLS CHECKLIST.
Having the right wall-tiling tools is essential for efficiency and accuracy. Depending on the wall surface, here are the tools you’ll need:
- Protective clothing, goggles, and gloves
- Pencil
- Spirit level
- Dust sheet
- Hammer or pliers for removing nails, screws, and hooks
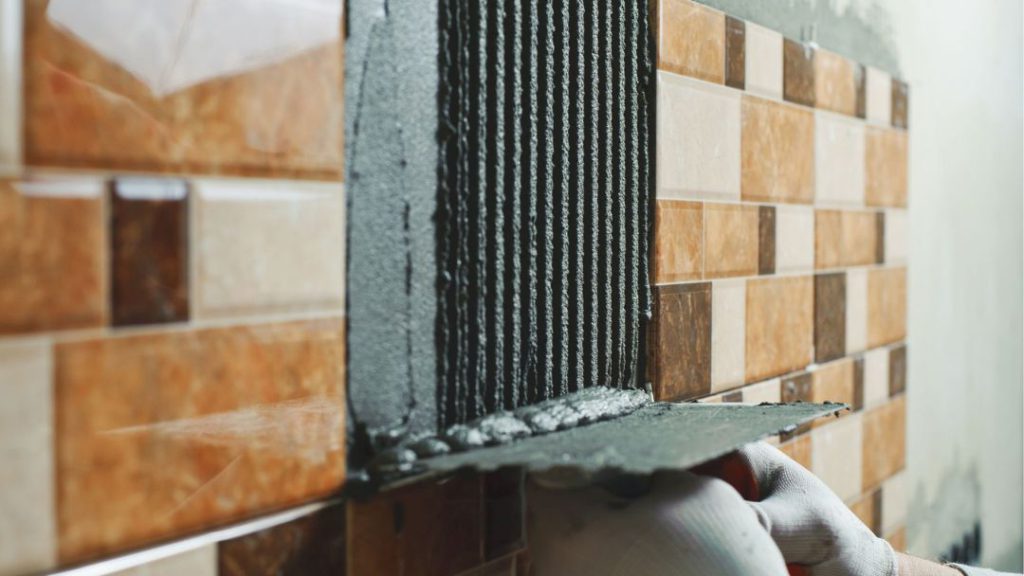
- Mortar, notched trowel, and brick trowel
- Sponges and cloths
- Box cutter
- Tape measure
- Step ladder
- Angle grinder and grinding diamond blades
- Scraper or steamer for removing old wallpaper
TILING BEST PRACTICES
1. Prepare the Substrate
Allow new surfaces to dry or cure completely to avoid drying shrinkage movement. Choose the correct primer for the surface to create a strong bond. Surfaces can be dusty, impervious, powdery, smooth, or rough.
2. Adhesive Selection
Select an adhesive suitable for the type of tile and its location. For example, exterior tiles, interior tiles, and suspended tiles require different adhesives.
3. Joints for Tile Panels
Movement joints (5mm wide) should be spaced every 5m for interior applications and every 3m for exterior applications. Internal corners, stairs, or structural discontinuities should also have movement joints to prevent damage.
COMMON WALL PREPARATION ISSUES WHEN TILING
Improper wall preparation can cause tiles to lift, break, or fall off. Common issues include:
- Uneven surfaces
- High moisture content
- Dirty, dusty, or oily surfaces
Take extra time to prepare the surface properly to avoid these problems.
A PREPARED SURFACE EQUALS A GREAT TILING JOB
All walls are not equal! When it comes to a successful tiling job, preparing a wall for tiling is key. Analyze the surface, figure out the best way forward, gather your tools, and see the job come together beautifully.
Connect with Ascolite for expert tiling solutions and premium products to make your tiling job a success!
Get Started with Ascolite
𝗙𝗼𝗿 𝗺𝗼𝗿𝗲 𝗶𝗻𝗳𝗼𝗿𝗺𝗮𝘁𝗶𝗼𝗻,
Visit our website: www.ascolite.in
Call our experts: 18005327788
